How to Achieve Studio-Quality Photos at Home
Imagine this: You’re at home with a camera, trying to take a picture—but something’s off. The lighting is harsh, the background is cluttered, and the result looks nothing like the pro-level shots you see online.
Sound familiar? The truth is, you don’t need an expensive studio to create stunning, professional-looking photos. With a few simple tricks, smart lighting choices, and a little editing magic, you can transform any space into your personal photo studio. Let’s break it down step by step and get you snapping studio-quality shots—right from home!
Choose the Right Space and Background
The first step to studio-quality photos is picking the perfect spot. Look for a room with plenty of natural light—large windows can give you soft, even lighting. If natural light isn’t an option, pick a space where you can control artificial lighting.
Once you’ve found a good spot, make sure the background is clean and simple. A great background keeps your photos clean and professional. Here are a few easy background ideas:
- Plain wall – A simple white, gray, or black wall works great for portraits and product shots.
- Fabric or paper backdrops – Hang a solid-colored sheet, curtain, or roll of paper for a seamless look.
- DIY textured background – Get creative! Use wooden boards, marble contact paper, or even a colored blanket for a unique effect.
Keep your background free from distractions. A busy background takes attention away from your subject and makes your photo look messy.
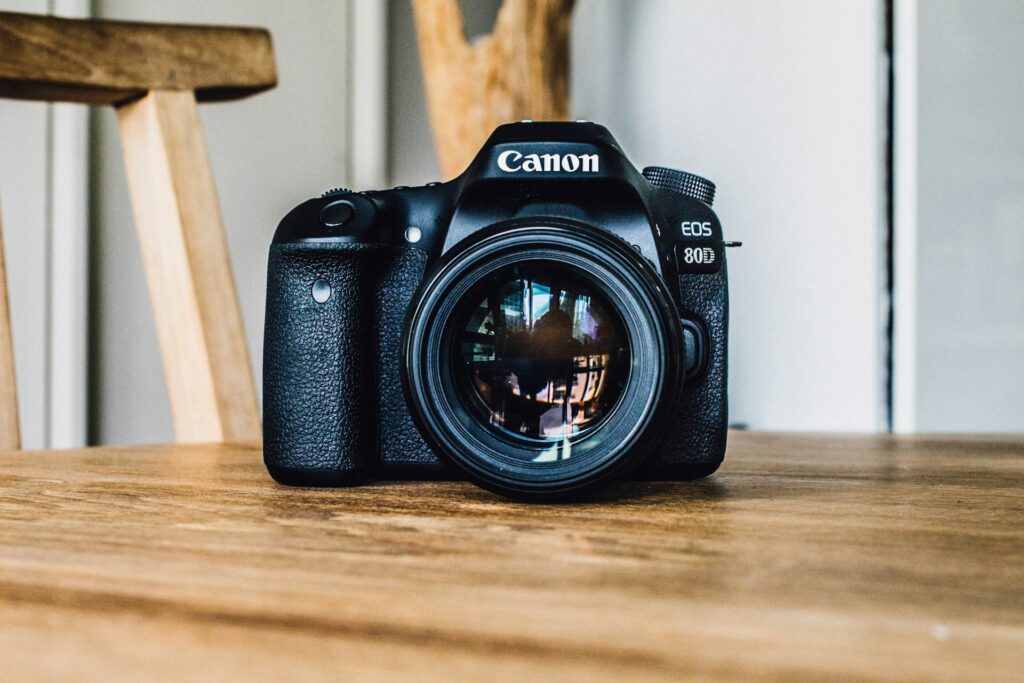
Level Up Your Camera with the Right Gear
A camera alone won’t give you studio-quality photos—you need the right camera accessories to enhance your shots. A fast prime lens creates dreamy portraits, while a sturdy tripod keeps your camera stable. If you shoot products, a macro lens and good lighting are game-changers.
The good news? You don’t need to search everywhere! Trusted e-commerce sites offer a wide range of camera accessories, helping you compare options and save time.
To master camera settings, try the following:
- Adjust Exposure – Keep ISO between 100-400 for clean, sharp images.
- Use a Tripod – Essential for blur-free shots, especially in low light.
- Pick the Right Lens – Different lenses give different effects. A 50mm prime lens is great for portraits, while a wide-angle lens captures more of the scene.
If you’re using a DSLR or mirrorless camera, set your ISO low to avoid grainy images, and use a wide aperture (like f/1.8 or f/2.8) for a soft background effect.
Master the Lighting
Lighting is the heart of photography. Without good lighting, even the best camera can’t save your photos. Here are two simple lighting setups you can try at home:
- Natural Light Setup – Position your subject near a large window. If the light is too harsh, use a sheer curtain or a white bedsheet to soften it. Morning and late afternoon light work best for a warm, flattering glow.
- Artificial Light Setup – If you’re shooting at night or in a dim room, use a ring light, softbox, or LED panel. Place one light source slightly to the side for a natural shadow effect. If you have two lights, use one as your main light and the second as a “fill light” to reduce harsh shadows.
A simple trick? Use a white poster board or a piece of aluminum foil to bounce light back onto your subject, filling in dark areas without needing extra lights.
Frame Your Shot Like a Pro
Composition is key to making your photos stand out. Here are some quick tips:
- Rule of Thirds – Imagine a grid on your screen. Place your subject slightly off-center for a more balanced shot.
- Leading Lines – Use lines in your scene (like doorways, furniture, or roads) to naturally guide the viewer’s eyes to your subject.
- Fill the Frame – Get close to your subject to capture details and avoid empty space.
Experiment with different angles. Try shooting from above for a creative touch or slightly below for a powerful perspective.
Edit Like a Studio Photographer
Editing adds the finishing touch to your photos. You don’t need fancy software—free apps can also do the job. All you need to do is:
- Adjust Brightness and Contrast – Brighten your image to make it pop, but don’t overdo it.
- Fix the Colors – Adjust warmth and saturation to make skin tones look natural.
- Sharpen Details – A little sharpening makes your image crisp and clear.
Want a pro tip? Use the “Selective Edit” tool in the photo editing app to brighten just your subject without affecting the whole image.
Final thoughts
Photography is all about trial and error. Take multiple shots, change angles, play with lighting, and test different setups. The more you practice, the better you’ll get. Now grab your camera (or phone) and start shooting! Who knows? Your next photo might just look straight out of a magazine.